
Orchid Care
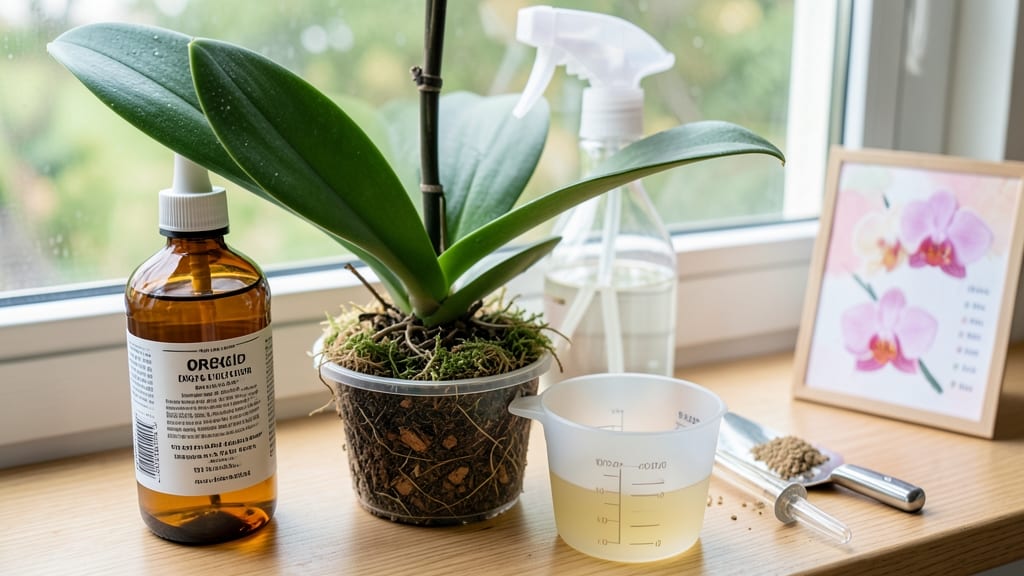
Timing your Phalaenopsis orchid 🌸 fertilizer just right is the secret weapon for those jaw-dropping blooms that last months. Skip the guesswork—because feeding at the wrong moment can leave you with limp leaves or no flowers at all, no matter how much you water.
Most gardeners overlook how seasonal shifts dictate when to fertilize, but spring is your golden window—when your orchid wakes up hungry after winter. A little extra care now sets the stage for longer, more vibrant blooms later.
Let’s break down the exact schedule that works, plus how to spot when your plant is truly ready for food.
You’ll discover how to adjust your routine based on what’s happening with your orchid: whether it’s sending up new spikes, resting between blooms, or showing signs of stress. No more second-guessing—just clear, actionable steps to keep your Phalaenopsis thriving year-round.
Ready to turn your orchid care from guesswork to confidence? I’ll show you how to fertilize at the perfect moments—without overdoing it or missing the cues your plant gives you.

Phalaenopsis fertilization schedule by season: key growth stages explained
Your Phalaenopsis orchid thrives on a fertilization schedule that mirrors its natural growth cycles. Unlike seasonal outdoor plants, orchids grow year-round indoors, but their needs shift dramatically between active growth, blooming, and rest periods.
Understanding these phases lets you feed your plant exactly when it craves nutrients—without overdoing it.
The spring flush (March-May) is your orchid’s prime feeding window. This is when your plant wakes up from winter dormancy and needs a nutrient boost to produce new leaves and flower spikes. Skipping this step often results in weak growth or no blooms later in the year.
I’ve seen orchids go from sad, bare stems to lush, flowering beauties in just 3 months by mastering this timing.
During summer months (June-August), your orchid’s growth slows slightly due to heat stress. This is when you switch to a light feeding schedule—every 4-6 weeks—to prevent root burn. Over-fertilizing in summer causes yellow leaves and root rot, which are hard to reverse.
Think of it like giving your plant a light snack rather than a full meal.
Fall (September-November) marks the pre-bloom phase, where your orchid prepares for its winter flower show. This is another high-feed period where you resume regular fertilization every 2-4 weeks. Look for new flower spikes as your cue to increase nutrients slightly—this helps your orchid develop stronger, longer-lasting blooms.
Winter (December-February) is your orchid’s dormancy period. During these months, your plant conserves energy, and fertilizing can actually damage roots. The key is to skip fertilization entirely and focus on maintaining humidity levels and bright indirect light.
I’ve had readers panic when their orchids didn’t bloom in winter, only to realize they’d accidentally fertilized during dormancy.
🌱 Phalaenopsis Fertilization Summary Table
| Season | Growth Phase | Fertilizer Frequency | Key Signs |
|---|---|---|---|
| Spring (Mar-May) | Active Growth | Every 2 weeks (half-strength) | New leaves, flower spikes |
| Summer (Jun-Aug) | Maintenance | Every 4-6 weeks (half-strength) | Slow growth, heat stress |
| Fall (Sep-Nov) | Pre-Bloom | Every 2-4 weeks (full-strength) | Flower spikes forming |
| Winter (Dec-Feb) | Dormancy | None | Resting, no new growth |
One of the biggest mistakes I see is gardeners fertilizing their orchids year-round without adjusting for seasons. Your Phalaenopsis orchid doesn’t need constant feeding—it needs strategic feeding tied to its growth phases.
For example, if you notice yellowing leaves in summer, it’s often a sign of over-fertilization, not a nutrient deficiency.
Pay attention to your orchid’s root health as your best indicator. Healthy roots are green or silver when dry and green when wet. If they turn black or mushy, you’ve likely over-fertilized.
On the flip side, if roots stay shriveled and brown, your orchid might be under-fertilized. I recommend checking roots monthly during active growth phases.
Light exposure also affects fertilization needs. Orchids in low-light conditions (like north-facing windows) need less frequent feeding because they grow slower. Conversely, orchids in bright indirect light (east or west windows) can handle more frequent, slightly stronger fertilizer doses. Always adjust based on your specific light setup.
Pro tip: Keep a simple fertilization log to track when you feed your orchid and how it responds. Note any changes in leaf color, root growth, or flower spikes.
Over time, you’ll develop an intuition for your orchid’s unique needs. My own Phalaenopsis now blooms twice a year because I’ve fine-tuned its feeding schedule based on these observations.
Remember, the goal isn’t to feed your orchid as much as possible—it’s to feed it at the right times with the right balance. When you master this seasonal rhythm, you’ll enjoy longer blooms, healthier foliage, and fewer problems down the line. 🌸
Spring fertilizer flush secrets: how to trigger 6+ month bloom cycles
Spring is the magic window for jumpstarting your Phalaenopsis orchid’s bloom cycle. When daylight lengthens and temperatures rise, your orchid wakes from dormancy—this is when a fertilizer flush works wonders.
Think of it as a growth turbocharge: a concentrated feeding schedule that signals your plant to produce those iconic 6+ month-long flower spikes.
Timing is everything: start your spring flush in late February or early March, just as new leaves begin to emerge. This aligns with your orchid’s natural active growth phase, when it’s hungry for nutrients to build energy reserves.
Use a balanced orchid fertilizer (like 20-10-20) at half-strength—this prevents root burn while delivering steady nutrition.
- Weeks 1-4: Fertilize weekly with half-strength solution to kickstart growth.
- Weeks 5-8: Switch to bi-weekly feeding as new leaves harden.
- Week 9+: Reduce to every 3 weeks to prevent overfeeding before blooming.
- Key Tip: Pair with morning watering to maximize nutrient absorption.
For organic options, try fish emulsion or seaweed extract—these provide trace minerals that synthetic fertilizers often lack. However, they require more frequent applications (every 10-14 days) to match the nutrient density of synthetics.
Monitor your orchid’s root health: healthy roots should be green and plump, not mushy or brown.
Pro tip: Combine your spring flush with a light adjustment. Move your orchid to a brighter spot (but still indirect) to mimic natural spring conditions. This light + nutrient combo is what triggers those long-lasting flower spikes that can bloom for months.
Just avoid direct sunlight, which can scorch delicate leaves.
Watch for new growth signs: if your orchid produces 2-3 new leaves during spring, you’re on the right track. These leaves store energy for future blooms, so don’t skip feedings even if growth seems slow. Consistency is key—your orchid’s bloom cycle starts now, and every nutrient counts!
As summer approaches, you’ll gradually reduce feeding frequency to avoid root stress from heat. But for now? Keep that spring flush going strong—your orchid’s next showstopping display depends on it. 🌸