
Plants
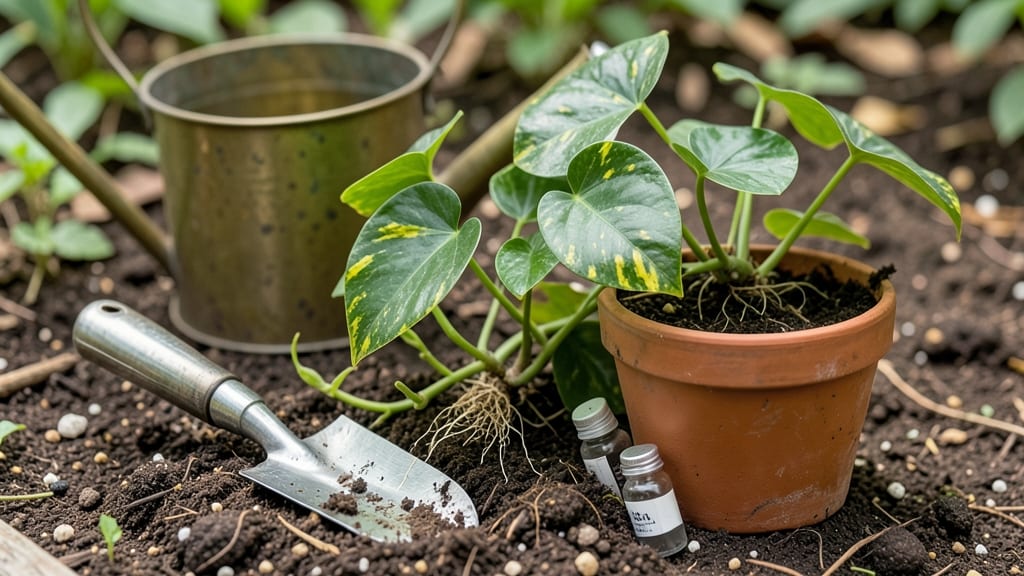
Knowing when to put propagated plants in soil can mean the difference between thriving new growth and wasted effort. That little 🌱 cutting you've nurtured in water might be ready sooner than you think—or not at all.
The key lies in checking those roots, not just guessing by days or weeks.
Most gardeners wait too long, risking root stress when transplanting, or move too soon and invite rot. I’ve learned the hard way that timing depends on more than just your calendar—it’s about root strength, soil warmth, and even your local frost dates.
For Zone 6a, spring’s the prime window, but there’s a science to it.
You’ll discover how to perform the tug test and spot healthy roots before they outgrow their watery home. We’ll also cover soil prep, seasonal cues like after last frost, and how to handle delays without losing your cuttings. Let’s turn your propagation success rate from guesswork to guaranteed.
Whether you’re growing herbs, flowers, or shrubs, these methods apply across the board. By the end, you’ll know exactly when that propagated plant is begging to be planted—and how to give it the best start possible.
How to check propagated plant roots before transplanting
Transplanting your propagated cuttings too soon or too late can make the difference between thriving plants and wasted effort. The key is root development—healthy roots anchor your plant and absorb nutrients efficiently. But how do you know when they’re ready?
Start by examining root length, which varies by plant type. Most herbs and succulents need 1-2 inches of roots, while woody plants like shrubs require 3-4 inches before transplanting.
Don’t rely on guesswork—visual cues are your best friend. Healthy roots should be white or light tan, indicating active growth. If you see black or mushy roots, your cutting has rotted and should be discarded.
Avoid transplanting at this stage, as the plant won’t survive in soil. Instead, refresh the water and wait for new root growth to appear.
🌱
Step-by-Step Root Check Guide
Timing matters just as much as root health. Transplant in the morning to give roots time to recover from stress. Avoid hot afternoons or windy days, as these increase transplant shock.
If your climate has frost risks, wait until soil temperatures stay above 50°F (10°C) for at least a week. For tropical plants like pothos, you can transplant year-round, but most temperate plants benefit from spring or early fall transplanting.
Over-propagation is a common pitfall—leaving cuttings in water too long can lead to root-bound plants or fungal infections. If roots start circling the jar or smell foul, it’s time to transplant, even if they’re not perfectly long.
Use a sterilized knife to trim any tangled roots before planting to encourage outward growth.
🌿
For succulents and cacti, the rules are different. These plants prefer minimal roots and can rot in water too long. Instead of waiting for long roots, look for 2-3 small, healthy roots and transplant into fast-draining soil.
Overwatering at this stage is more dangerous than waiting a few extra days. Herbs like mint or rosemary also root quickly—1 inch is plenty—so don’t delay transplanting if you spot new growth.
If you’re unsure, err on the side of caution. A cutting with strong roots but small leaves is better left in water for another week.
Conversely, a cutting with long roots but weak stems may not survive transplanting. Balance is key—root strength matters as much as root length.
✂️
Best soil and transplanting techniques for newly rooted cuttings
Once your propagated cuttings have developed strong roots, the next critical step is transplanting them into soil. The right soil mix and gentle handling can mean the difference between thriving plants and transplant shock.
For most herbs and succulents, I use a blend of 50% potting mix and 50% perlite or sand to ensure excellent drainage. Woody plants like willow or fig cuttings, however, prefer a moist, well-aerated mix with added compost for nutrients.
Timing matters just as much as technique. Aim to transplant on a cloudy day or in the early morning to reduce stress from direct sunlight. If you’re propagating during hot summer months, provide temporary shade with a lightweight cloth for the first week.
This mimics the natural conditions under a parent plant’s canopy, helping your cuttings adjust smoothly.
| Soil Type | Best For | Transplanting Tip |
|---|---|---|
| Peat-based mix | Herbs, annuals, tender perennials | Add 10% perlite to prevent compaction |
| Coco coir blend | Succulents, cacti, drought-tolerant plants | Ensure zero moisture retention—let dry completely between waterings |
| Compost-enriched loam | Woody plants, shrubs, trees | Mix in mycorrhizal fungi to boost root establishment |
When transplanting, I always water the cuttings thoroughly in their water propagation jars 1–2 hours beforehand. This hydrates the roots and reduces shock during the move. Gently loosen the root ball if it’s tightly bound, and avoid disturbing the delicate new roots.
For fragile stems, like coleus or fuchsia, I use chopsticks to support them while planting to prevent breakage.
After planting, create a humidity dome using a clear plastic bag or a homemade cloche. This traps moisture and mimics the greenhouse effect, which is especially helpful for tropical cuttings like pothos or peace lilies.
Remove the dome gradually over 7–10 days to acclimate the plants to their new environment. During this period, I place a damp paper towel over the soil surface to retain moisture without waterlogging.
Watering is a delicate balance in the first two weeks. Overwatering can suffocate roots, while underwatering causes stress. I use the "finger test": stick your finger 1 inch into the soil.
If it feels dry, water lightly until it drains from the bottom. For succulents and cacti, reduce watering to every 2–3 weeks once established, as they’re prone to rot in soggy conditions.
Finally, resist the urge to fertilize immediately after transplanting. New roots are energy-draining, and fertilizer can burn them. Wait 4–6 weeks before applying a diluted liquid fertilizer (half-strength) to encourage growth.
For nutrient-hungry plants like tomatoes or peppers, I add a slow-release pellet to the planting hole at transplant time for a gentle boost.